
Today for tech this week nearly everyone was up to cutting out our designs. Before we started cutting we measured out our piece of wood to make our design. Mr Grundy checked with a tri - square to see our wood was the right measurement and see if our pencil lines were straight to cut it perfectly. We cut out our wood using a backed saw to cut the wood with, and used a bench hook to hold the wood in place. When we finished cutting our wood we drew lines to make sure one of the woods were able to to fit to make a joint. We did this by making sure the wood is one thickness away from the end, and put one line with our pencil, next was to put the wood on the other side of the line to make it one thickness from the other line. We had to take our wood and a tri - square to Mr Grundy and if it was correct he would grab his marking gauge and carve a line in the middle of both sides of the wood. After that I cut one of the lines to were Mr Grundy carved with the marking gauge which was in the middle.
Photos of the tools in Mr Grundy's work shop:
Steel ruler

Marking gauge

Mallet

Tri - square

Backed saw

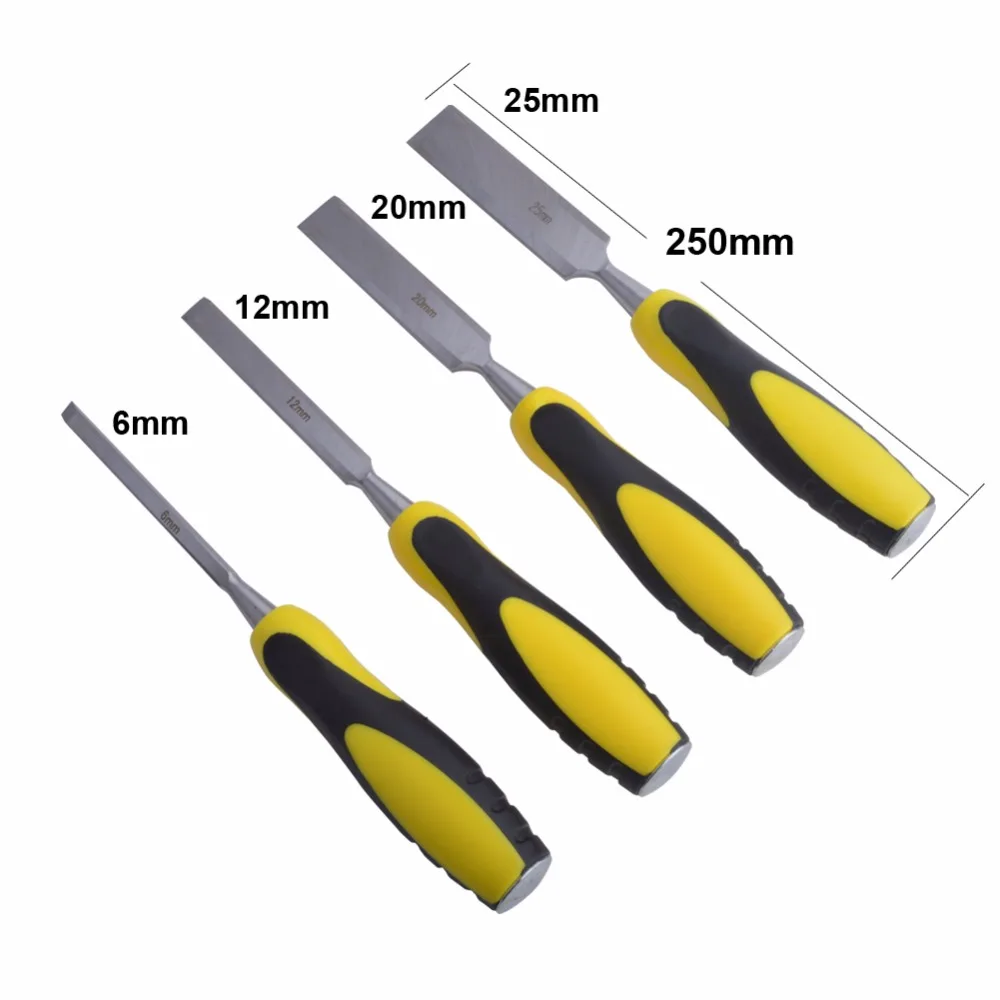
Wood chisel
Bench hook

No comments:
Post a Comment
Note: only a member of this blog may post a comment.